
-")
Step 1: Exporting a skin.
Open Unreal Ed and open up the texture browser
 and open any skin file you want (i.e. female1skins.utx, male1skins.utx, etc.). I'm going to use Male1Skins.utx for this tutorial and the kurgan skin. So just select the skin, File->Export. Save as Kurgan.pcx or change it if you feel like.
Step 2: Start Editing in Photoshop.
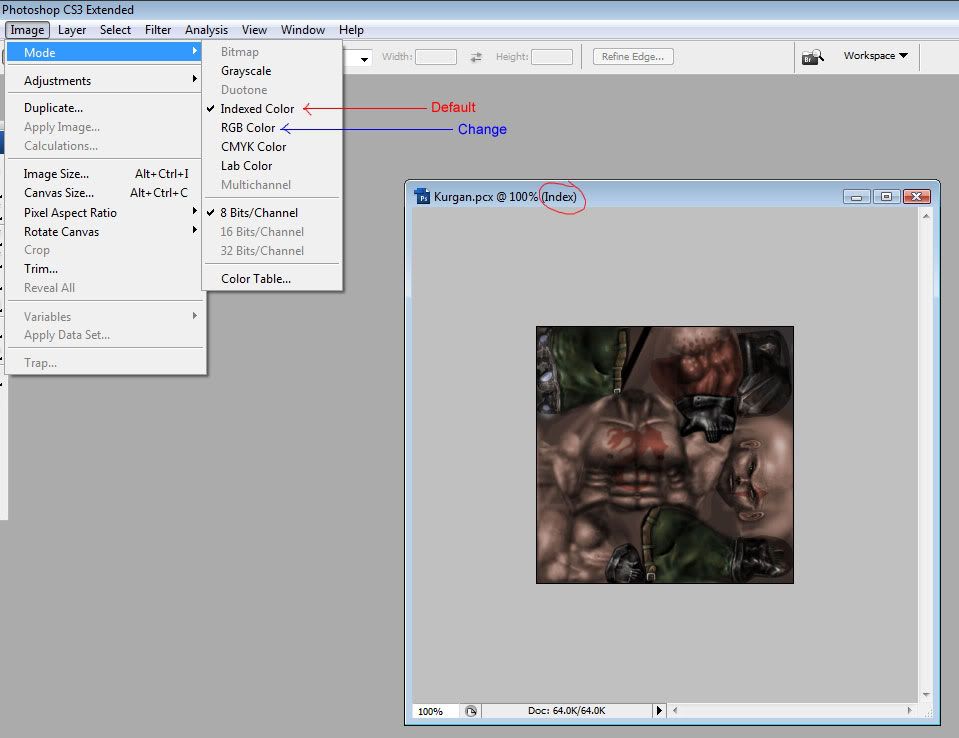
In Photoshop just open up the Kurgan.pcx file. You cannot edit it yet because first you need to change the mode on the picture. All textures exported from UEd will be in Indexed Color (marked as red). So you want to go to Image->Mode-> RGB Color (marked as green).
Now we can start making our changes to our skin.
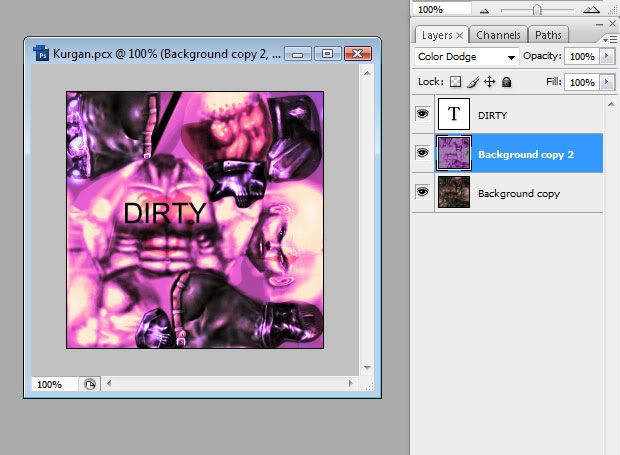
Here I made a copy of the background image. Applied a Neon Glow filter on it and set it to Color Dodge giving some nice bright colors and such. And added my name to the chest area. Of course you can do alot more than this, use your imagination.
Step 3: Completing Photoshop.
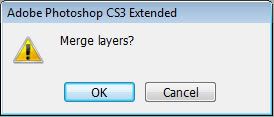
Now as you did in step 2 where you changed the color mode, now you need to set it back to Indexed Color. So go to Image->Mode->Indexed Color. When you do this you will see a couple of windows.
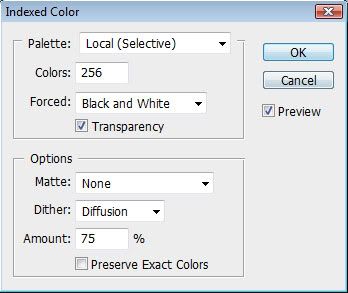 .
.Click OK on both, no need to change any options. These windows may change depending on Photoshop version. But always easier to just OK all the windows and not change anything.
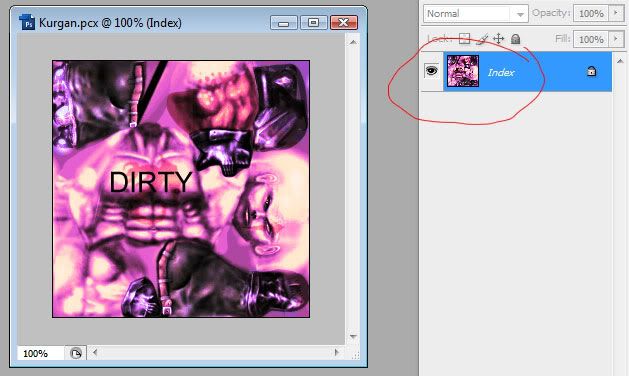
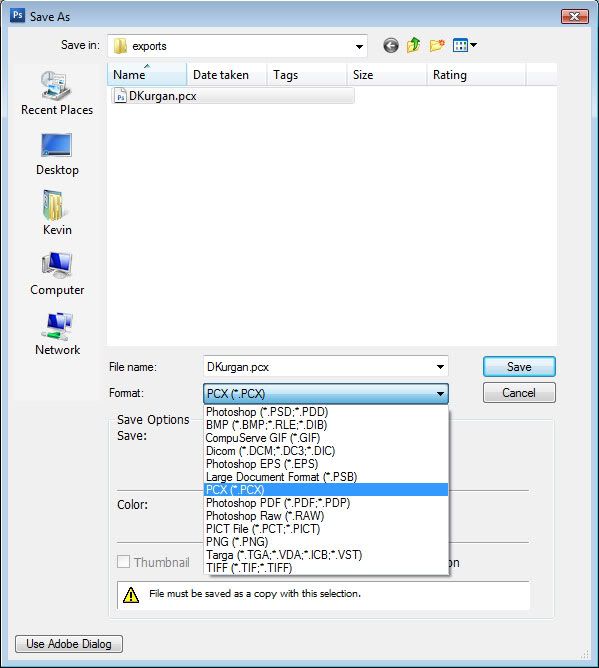
Notice all the layers merged into one single layer, as asked in one of the questions when changing the color mode. Now save your finished image and make sure to set the file type to .pcx otherwise you will not be able to import it into UEd. I saved it as DKurgan.pcx.
Step 4: Importing.
Back to the UEd Texture Browser where you exported your skin. Go to File->Import and select your saved finished skin you just saved at the end of Step 3 (DKurgan.pcx).
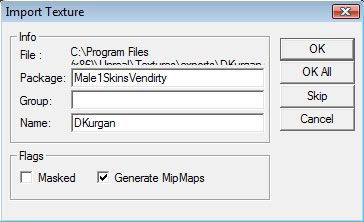
You will see this window pop up. You want to change the Package name to what you like your texture file to be named. I simply changed it from Male1Skins to Male1SkinsDirty and left the Name as what I saved the image as. Group is only if you are making a whole texture pack for a map but in this case you leave it blank. Now save your texture file to the Unreal/Textures directory as Male1SkinsDirty.utx, same thing I named the Package of course.
Step 5: Getting your skin to work in Unreal.
We are almost done, bare with me.
[public]
Object=(Name=Male1Skins.Carter,Class=Texture)
Object=(Name=Male1Skins.Kurgan,Class=Texture)
Object=(Name=Male1Skins.T_Blue,Class=Texture)
Object=(Name=Male1Skins.T_Green,Class=Texture)
Object=(Name=Male1Skins.T_Red,Class=Texture)
Object=(Name=Male1Skins.T_Yellow,Class=Texture)
Object=(Name=Male1Skins.Male1Gib,Class=Texture)
Now copy a line, doesn't matter which, Object=(Name=Male1Skins.Male1Gib,Class=Texture) and you want to change the Name (red) to the name of your texture file and the name of your skin you made. Object=(Name=Male1SkinsVendirty.Dkurgan,Class=Texture). Save the file and close it.
Step 6: Testing in Unreal.
Now you can open up Unreal and hopefully all was done correctly to where you go to your Multiplayer->Player Setup and under Male 1 your skin should show up in all its glory!
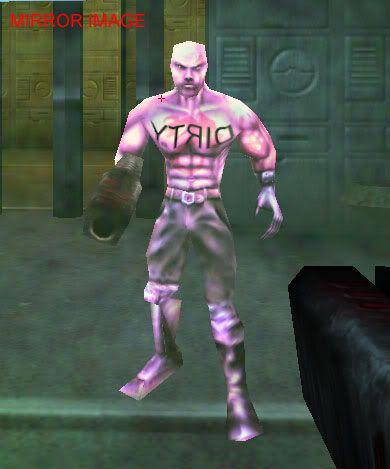
A very pink man with the name DIRTY on the chest. lol. Look out kids! XDDD.
Hope you enjoyed this tutorial and understood it.


 And this is regardless what version Photoshop you use, since they are industrial standards. In order to have textures imported correctly in UnrealEd and UnrealEd2 you HAVE to save them as BMP files in Photoshop. But with the correct settings while changing the mode to Index !